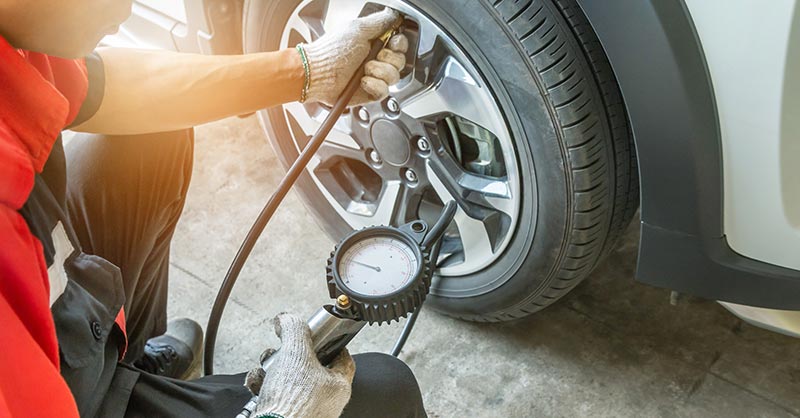
Tire Safety for Passenger Vehicles and Light Trucks

Protection against avoidable breakdowns and crashes, improved vehicle handling, better fuel economy, and increased tire life – these are just a few of the reasons to take five minutes every month to check a vehicle’s tires. Simply follow the procedures outlined below to check a vehicle’s tires.
Tire Safety Action Plan
- Because tires may naturally lose air over time, check tire pressure regularly (at least once a month), including the spare.
- Inspect tires for uneven wear patterns on the tread, cracks, foreign objects, or other signs of wear or trauma. Remove bits of glass and other foreign objects wedged in the tread.
- Make sure the tire valves have valve caps.
- Check tire pressure before going on a long trip.
- Do not overload the vehicle - check the tire information placard or owner’s manual for the maximum recommended load and tire pressure.
- If towing a trailer, remember that some of the weight of the loaded trailer is transferred to the towing vehicle.
Checking Tire Pressure
You can find the recommended cold tire inflation pressure and vehicle load limit on the tire information placard (permanent labels attached to the vehicle door edge, doorpost, glove-box door, or inside of the trunk lid) and in the vehicle owner’s manual. Keep a tire pressure gauge in your vehicle. To get an accurate tire-pressure reading, measure tire pressure when the car has been unused for at least three hours.
- Step 1: Locate the correct tire pressure on the tire information placard or in the vehicle owner’s manual.
- Step 2: Record the tire pressure of all tires.
- Step 3: If the tire pressure is too high in any of the tires, slowly release air by gently pressing on the tire valve stem with the edge of your tire gauge until you get to the correct pressure.
- Step 4: If the tire pressure is too low, note the difference between the measured tire pressure and the correct tire pressure. These “missing” pounds of pressure are what you will need to add when you get to an air pump.
- Step 5: Add the missing pounds of air pressure to each tire that is underinflated.
- Step 6: Check all the tires to make sure they have the same air pressure (except in cases in which the front and rear tires are supposed to have different amounts of pressure).
Checking Tire Tread
Tires have built-in treadwear indicators that let you know when it is time to replace your tires. These indicators are normally invisible, but appear when threads have been worn down to 1/16th of an inch of the surface of the tire tread. If these indicators appear in two or three different places, it is time to replace your tires. You can also test your treadwear with a Lincoln penny. Simply place a Lincoln penny head-down in the groove between the threads – if you can’t see the top of Lincoln’s head, it’s time to replace your tires.
Additional Safety Tips
- Slow down if you have to go over a pothole or other object in the road.
- Do not run over curbs, and try not to strike the curb when parking.


